Description
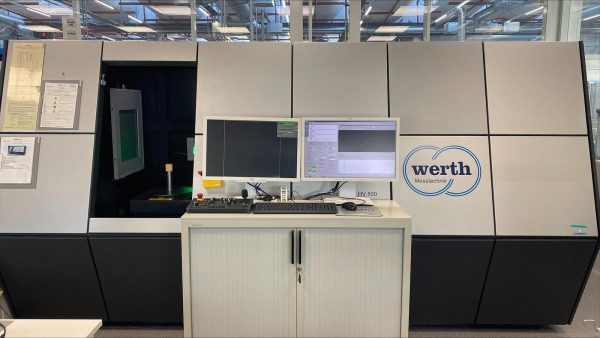
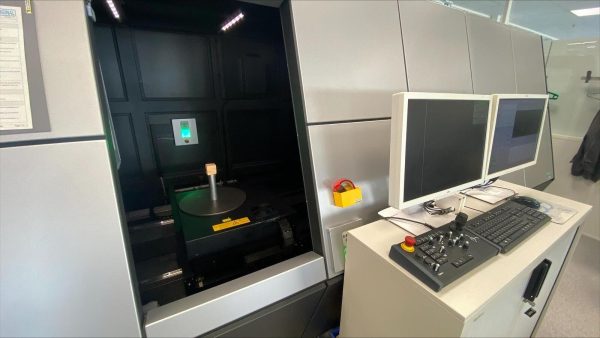
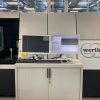
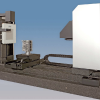
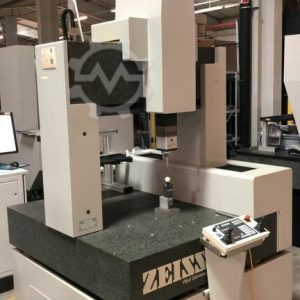
Werth Tomoscope HV500 Computed Tomography CT Scanner Machine – Year 2008
Computed Tomography Machine in Coordinate Measuring Technology
Werth Tomoscope HV500 CT scanner
Highlights
In addition to the high lights on the TomoScope
Larger part size
X-ray sources up to 300KV
Optional palette changer
Grater range of x-ray detectors Grater range of x-ray detectors
Machine Specifications
Micro focus X-ray source up to 225 kV (option: 300 kV micro focus tube)
Measuring Range
Max. Workpiece dimensions D = 530 mm / L = 725 mm (depending on the aspect ratio of the workpieces)
Accuracy
Permissible length measurement error up to 4.5 µm
Foot Print and Specification
Depth: 1820 (72″) Width: 3820 mm (150”) Height: 2000mm (80”)
For more detailed information on the specification of this machine call us at 860.399.2445 or email us .
Industry
Automotive, Medical, Aerospace, Plastics-Molding, Electronics
Application Environment
Gage and Quality Laboratory, Ultra Accurate, Computed x-ray Tomography
It is a 225kV X-ray source.
Manufacturer Catalogue Information about Werth Messtechnik GmbH Industrial Computed Tomography Machines:
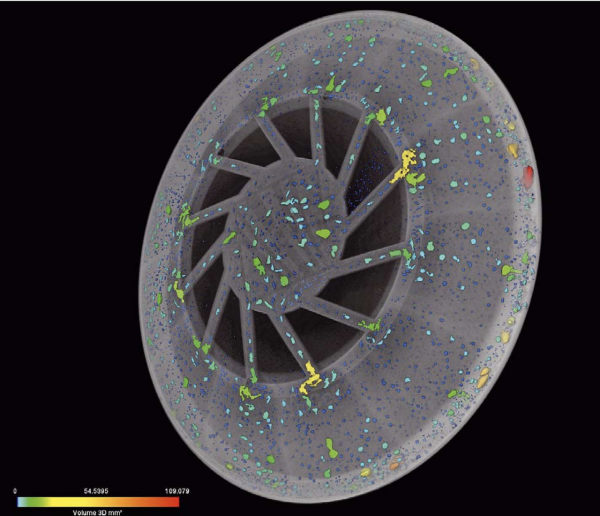
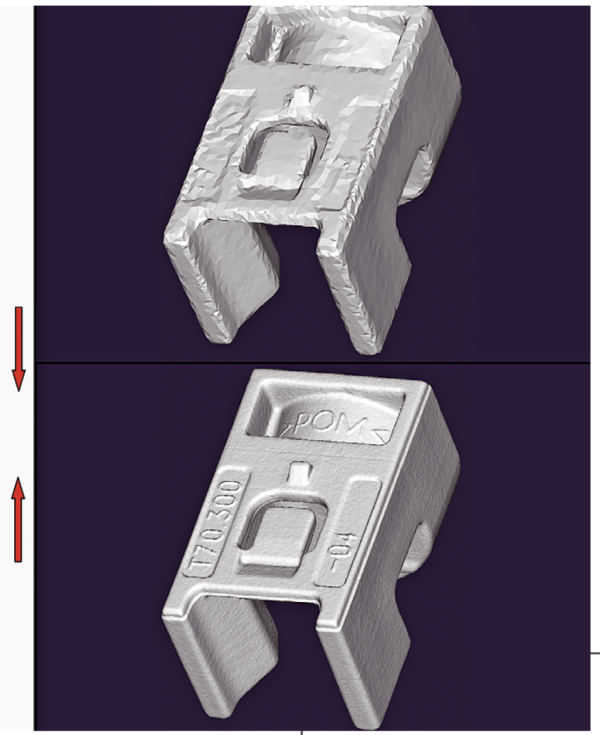
The ability to completely and non-destructively measure components with any arbi- trary structure has made hard to imagine quality assurance without computed tomo- graphy. In the ten years since this technology was introduced to coordinate metrolo- gy, Werth has developed a wide spectrum of machines and functions to cover the in- creasing bandwidth of measurement tasks.
X-rays were first used in the medical field to produce two-dimensional projection images. At the beginning of the 20th century, the development of mathematics for computing volume data from many such images began. The method known as tomography allows larger objects to be captured completely, including their internal structures. This new technique was also used in the me- dical field for the first time in the 1970s. At the beginning of the 1990s, it was expanded to include the inspection of technical objects for voids or other inclusions and for missing features. These machines were also occasionally used to determine workpiece dimensions, but the achie- vable precision was still just a few hundredths of a milli- meter.
This problem was first overcome by a new approach and the use of proven technologies from coordinate metrolo- gy. In 2005 the Werth Tomoscope 200 became the first coordinate measuring machine (CMM) with computed tomography sensors (CT) that could be equipped with additional sensors, such as image processing and probes. Complex parts with several hundred dimensions were thus able to be measured completely and precisely in a short time.
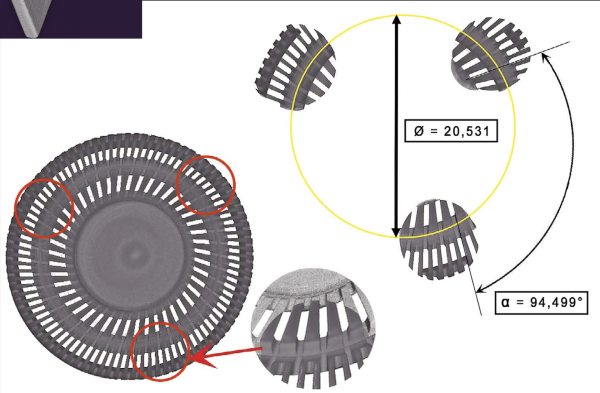
With the patented Werth Autocorrection method, mea- surement deviations in the low micrometer ranges were possible. This correction method is based on a one-time reference measurement of a master part using a high- precision sensor that is preferably integrated in the CMM. The deviation between the reference and CT mea- surements is then used to correct the CT series measure- ments. The Werth Autocorrection method is the most ac- curate method to date for correcting the inherent devia- tions of CT (artifacts). For example, it allows the measu- rement of spray holes in fuel injectors with measuring uncertainty in the submicron range.
In the following years, mathematical methods for arti- fact correction and improvements in system accuracy without the use of additional sensors were developed. Various methods for expanding the range of applications were also developed, including raster and ROI tomogra- phy, along with a series of machines for many different applications.
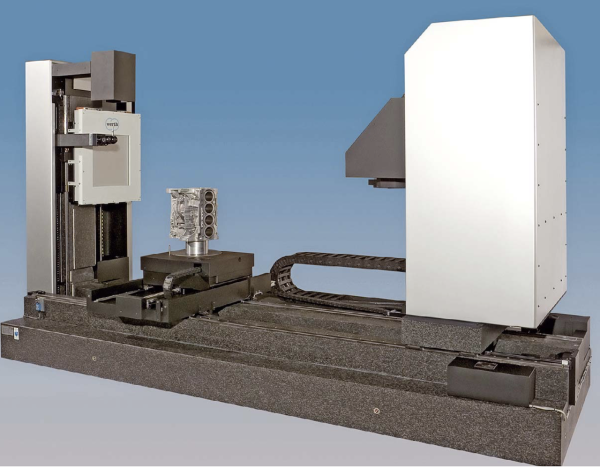
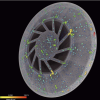
The principle of computed tomography is that the work- piece is placed between the X-ray source and the typical- ly flat detector and is rotated by means of a rotary axis (turntable). Two-dimensional radiographic images are taken from many precisely known radial positions. The X-rays are partially absorbed as they penetrate the work- piece, depending on the type of material and its penetra- tion length. Using mathematical methods to reconstruct the image (filtered back projection), a volume model consisting of three-dimensional voxels (volume pixels) is computed from the 2D radiographic images. These are comparable to the pixels of a 2D image, but contain in- formation about the material (density) and the geo- metry of the entire workpiece. The volume data can be used to inspect or to dimensionally measure the work- piece.
To derive dimensions, however, the exact positions of material transitions must be determined. The method of local edge location detection, patented by Werth, does this very precisely, with subvoxel resolution, regardless of local interference. The surface points thus derived are typically shown in mesh form in the STL format and are used for comparison with the CAD model or for deriving any number of dimensions.
To obtain low measurement deviation, high resolution is a necessary prerequisite. This is made possible by posi- tioning the workpiece as close to the X-ray source as pos- sible, which results in a large scale magnification of the image. Because the area of the workpiece to be measu- red must not move out of the cone-shaped X-ray beam in any rotary orientation, the resolution is limited by the si- ze of the workpiece. However, by using the special mea-surement methods described below, such as rastering and region of interest CT (ROI-CT), this limitation can be eliminated.
Machine classes for various fields of application
The size and the material of the measured object, as well as the measurement task, determine the CT com- ponents to be used, such as X-ray tubes, detector, rotary axis, and filters. They also determine the measurement parameters such as image scale, measurement me- thod, X-ray voltage and current, exposure time, number of rotary steps, and so on.
To set different image magnification, and for special measurement methods, the CT components must be adjusted relative to each other. Adjusting the distance between the detector and the X-ray source can also in- fluence the effective cone angle of the X-ray beam. Small cone angles allow lower measurement deviati- ons, and are preferred for high-precision measure- ments.
Shorter measurement times are obtained when using larger cone angles. This is necessary, for example, for machines that are used in production environments. To solve the various measurement tasks, machines have been developed with different or adjustable positions of the CT components. To achieve high-precision posi- tioning, coordinate measuring machine components are used for this purpose. This also establishes the basis for a calibration that is stable over the long term.
But the CT components must also be highly flexible. The properties of the detector—such as the resoluti- on—and the precision of the rotary axis can be selected to suit the applications. Detectors with pixel counts up to about 16 million and pixel sizes between 75 μm and 200 μm are currently in use, along with extremely high precision air-bearing rotary axes.
Selection of the right X-ray tube is generally based on the material and size of the workpiece. The size of the focal point is also significant for resolution and precision. This depends on the type of X-ray target and increases with more power (X-ray voltage and current). This results in a decrease in measurement resolution.
Higher radiated power, however, provides shorter measu- rement times. X-ray tubes with a reflection target allow high power levels, depending on their construction, and transmission targets allow a smaller focal point at the sa- me power level. A combination of both properties is pro- vided by the Werth 300 kV microfocus tubes, which achie- ve focal points as small as a few microns at a power level of up to 50 W. Other X-ray sources, with various designs, pro- vide acceleration voltages from around 80 kV to 500 kV. For microfocus tubes with acceleration voltages above 150 kV, higher wear of the target dictates that open X-ray tubes with maintenance access are used, which can the- reby have a theoretically unlimited lifespan. High- powered X-ray sources are primarily used for measuring large-volume workpieces and metal components. In such cases, the measurement deviations can sometimes be greater than would be expected based on the machi- ne specification due to severe artifact generation (e.g., beam hardening and scatter radiation). The techniques for artifact correction then take on greater significance. For standard measurement tasks, the maximum permis- sible measurement error (MPE E) defined in the machine specification can be used. For the Tomoscope series of machines, this is only a few microns, depending on the measured length. By using high-precision components, the TomoCheck can even achieve a MPE E of (2.5 + L/150) μm.
Special measurement methods—increased resolution and more
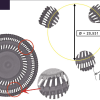
Precise detailed measurements of large workpieces are possible with raster tomography. In addition to increa- sing resolution, it is also used to extend the measure- ment range. The measured object is tomographically captured in sections, which means the resolution can be increased nearly without limit. If the higher resolution is needed only in some regions, then a special, patented ROI-CT method (region of interest CT, or local tomogra- phy) is used. The regions of interest are tomographically scanned at a high magnification, without having to align them separately on the turntable. This maintains the re- lationship between the sub-regions, and dimensions of the whole workpiece can be accurately evaluated. The voxel volume cross section function makes it possible to reliably measure workpieces made of several materials. To solve other special measurement tasks, the methods of helical, high-energy, multi-spectrum, hemisphere, and rapid CT are available.
Increased precision with artifact correction
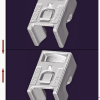
Artifacts arise from physical interactions between X-rays and the workpiece. Beam hardening, scatter radiation and the cone beam geometry are the primary influences on the measurement result. For workpieces that are dif- ficult to penetrate, such as metal components, artifact correction thus becomes necessary. Empirical artifact correction (EAC) and virtual autocorrection (VAC) have been developed for various applications. For EAC, the consistent relationship between the radiographic length and measured absorption of the X-ray when penetrating the material is approximated by a characteristic curve,
which can be used to rapidly correct several artifacts. For VAC, the measurement software simulates the CT mea- surement once with and once without artifacts. The de- viations between the two simulations contain both the influence of the workpiece and that of the machine and are used to correct the measured data. Werth Autocor- rection is suitable for precise applications. Development in coordinate measuring technology with CT is focused on further reducing measurement deviati- ons, improving the ability to scan workpieces that are dif- ficult to penetrate and optimizing the possibilities for measuring parts made of different materials. Machines with various methods increase the flexibility of CT tech- nology. Selectable combinations of machine size, X-ray source, rotary axis, detector, various artifact correction possibilities and optional multisensor technology make it possible to adapt the Tomoscope machine series to any measurement task.
