Description
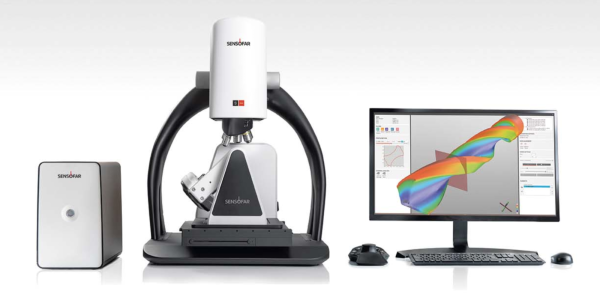
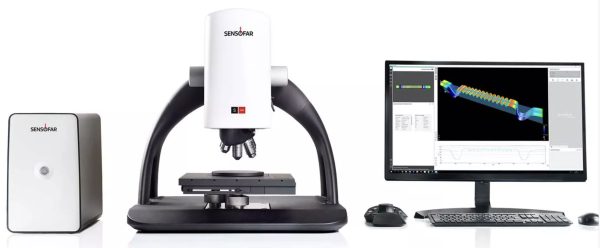
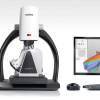
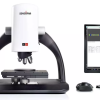
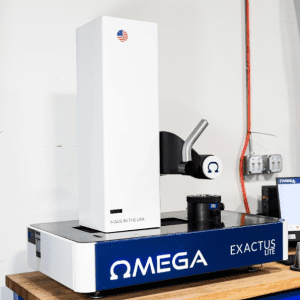
Sensofar S neox 5-Axis non-contact 3D Optical Profiler
S neox 3D Optical Profiler -S neox Five Axis, non-contact 3D optical profiler,
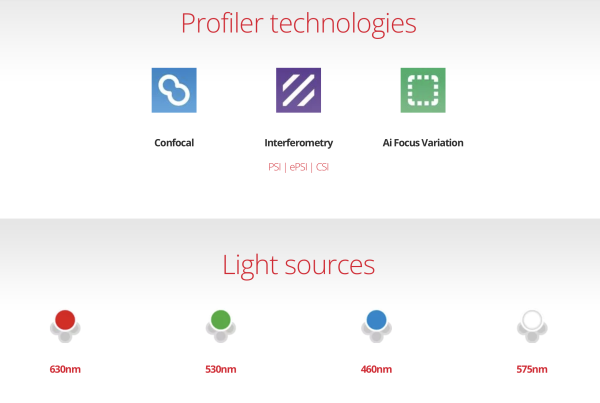
measures and characterizes 3D surfaces using multiple technologies:
Confocal, Interferometry (VSI, PSI & ePSI) and Focus Variation
includes:
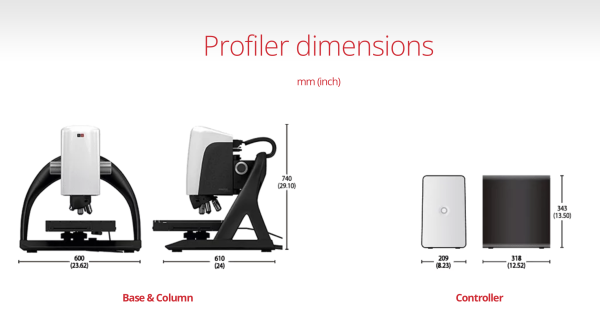
S neox sensorhead & electronic controller ;
main controller (HP computer (latest INTEL processor) with Windows 10 64-bit,
high-resolution display of 2560 x 1080 pixels (34”),
keyword, mouse and joystick);
positioning stage (2-axis rotational module);
flat and rotational collet holder;
collet pack; adjustable height column.
The Five Axis rotational stage consists of a high-precision motorized rotating A axis with 360º of endless rotation,
1 arc sec positioning repeatability,
a motorized B axis,
-30º to 110º,
1 arc min positioning repeatability, with limit switch.
It is equipped with a System3R clamping system.
Motorized 154×154 mm (6×6″) XY stage w/Tip Tilt for Interferometry
Manufacturer Catalogue Information about
Sensofar S neox 5-Axis non-contact 3D Optical Profiler :
The new S neox optical profilometer outperforms existing optical 3D profiling microscopes in terms of performance, functionality, efficiency and design, providing Sensofar with a class-leading areal measurement system.
Faster than ever
Everything is faster than before with new smart and unique algorithms and a new camera. Data acquisition is taken at 180 fps. Standard measurement acquisition is 5X faster than before. Making the S neox optical profilometer, the fastest areal measurement system in the market.
Easy-to-use
Sensofar is continuously working to provide the most incredible experience to our customers. With the fifth generation of the S neox systems, the goal has been to make it easy to use, intuitive and faster. Even if you are beginner user, the system can be managed with just one click. Software modules have been created to adapt the system to the user requirements.
Quality Control
Automated modules have been created
to facilitate all QC procedures. Ranging
from operator access rights control, recipes,
compatibility to barcode/QR readers, and
customized plugins from our proprietary
SensoPRO software to generate pass/fail
reports. Our optimized solutions are able
to work in Quality Control environments
due to their flexibility and easy-to-use interface,
which can be programmed to work 24/7.
Surface finish measures have never been so easy.
Research & Development
With Sensofar’s 3-in-1 approach –a single
click in SensoSCAN switches the system to
the best technique for the task at hand. The
three measurement techniques found in the
S neox sensor head –Confocal, Interferometry,
Ai Focus Variation– each contribute critically
to the versatility of the system and help to
minimize undesirable compromises in the
data acquisition. The S neox optical profilometer
is ideal for all lab environments,
without limitations.
4-in-1 technologies
Ai Focus Variation
Active illumination Focus Variation vertically scans either optics (with very low depth-of-field) or the sample to obtain a continuous set of images of the surface. An algorithm determines which points in each frame are in focus, and an entire image is built up using all in-focus points from all frames. It has been improved with the use of active illumination to get more reliable focus location even on optically smooth surfaces.
Confocal
The imaging technique included by the Confocal microscopes, utilizes an aperture at the confocal plane of the objective. Out-of-focus light is thus prevented from entering the imaging system and only the in-focus plane on the sample is captured. 2D profiles and 3D surface images can be captured by scanning the aperture mechanically or digitally.
Example of an image taken using Confocal
Interferometry
Optical Interferometry makes use of the optical path difference between light reflected in the two arms of the interferometer (reference and sample) to yield an spatial interference pattern (interferograms) that contains information on the surface topology of the sample. Various variations of the approach can be used for particular applications.
Thin film
Thin film measurement technique measures the thickness of optically transparent layers quickly, accurately, non-destructively and requires no sample preparation. The profilometer acquires the reflectance spectrum of the sample in the visible range, and is compared with a simulated spectra calculated by the software, with layer thickness modification until the best fit is found. Transparent films from 50 nm to 1.5 μm can be measured in less than one second. Sample evaluation spot diameter is dependent on the objective magnification which can be as low as 0.5 μm and up to 40 μm.
Improving performance using a LED
The advantages of using a LED over a laser are vast. LEDs avoid interference patterns and scattering typical of laser light sources. LEDs illuminate an area, rather than a single spot, yielding faster measurement. The estimated lifetime of an LED is about 50.000 h (25 times better than a laser). Finally, they offer great versatility, allowing different wavelengths to be used depending on sample requirements.
System validation package
Every S neox is manufactured to deliver accurate and traceable measurements. Systems are calibrated using traceable standards following the ISO 25178 standard part 700 and part 600 for: Z amplification factor, XY lateral dimensions, flatness deviation, system noise as well as parcentricity and parfocality. Any metrology instrument must fulfill it before providing any result.
