27/12/2024
What is used for JONES & Lamson EPIC 30 Comparator Machine?
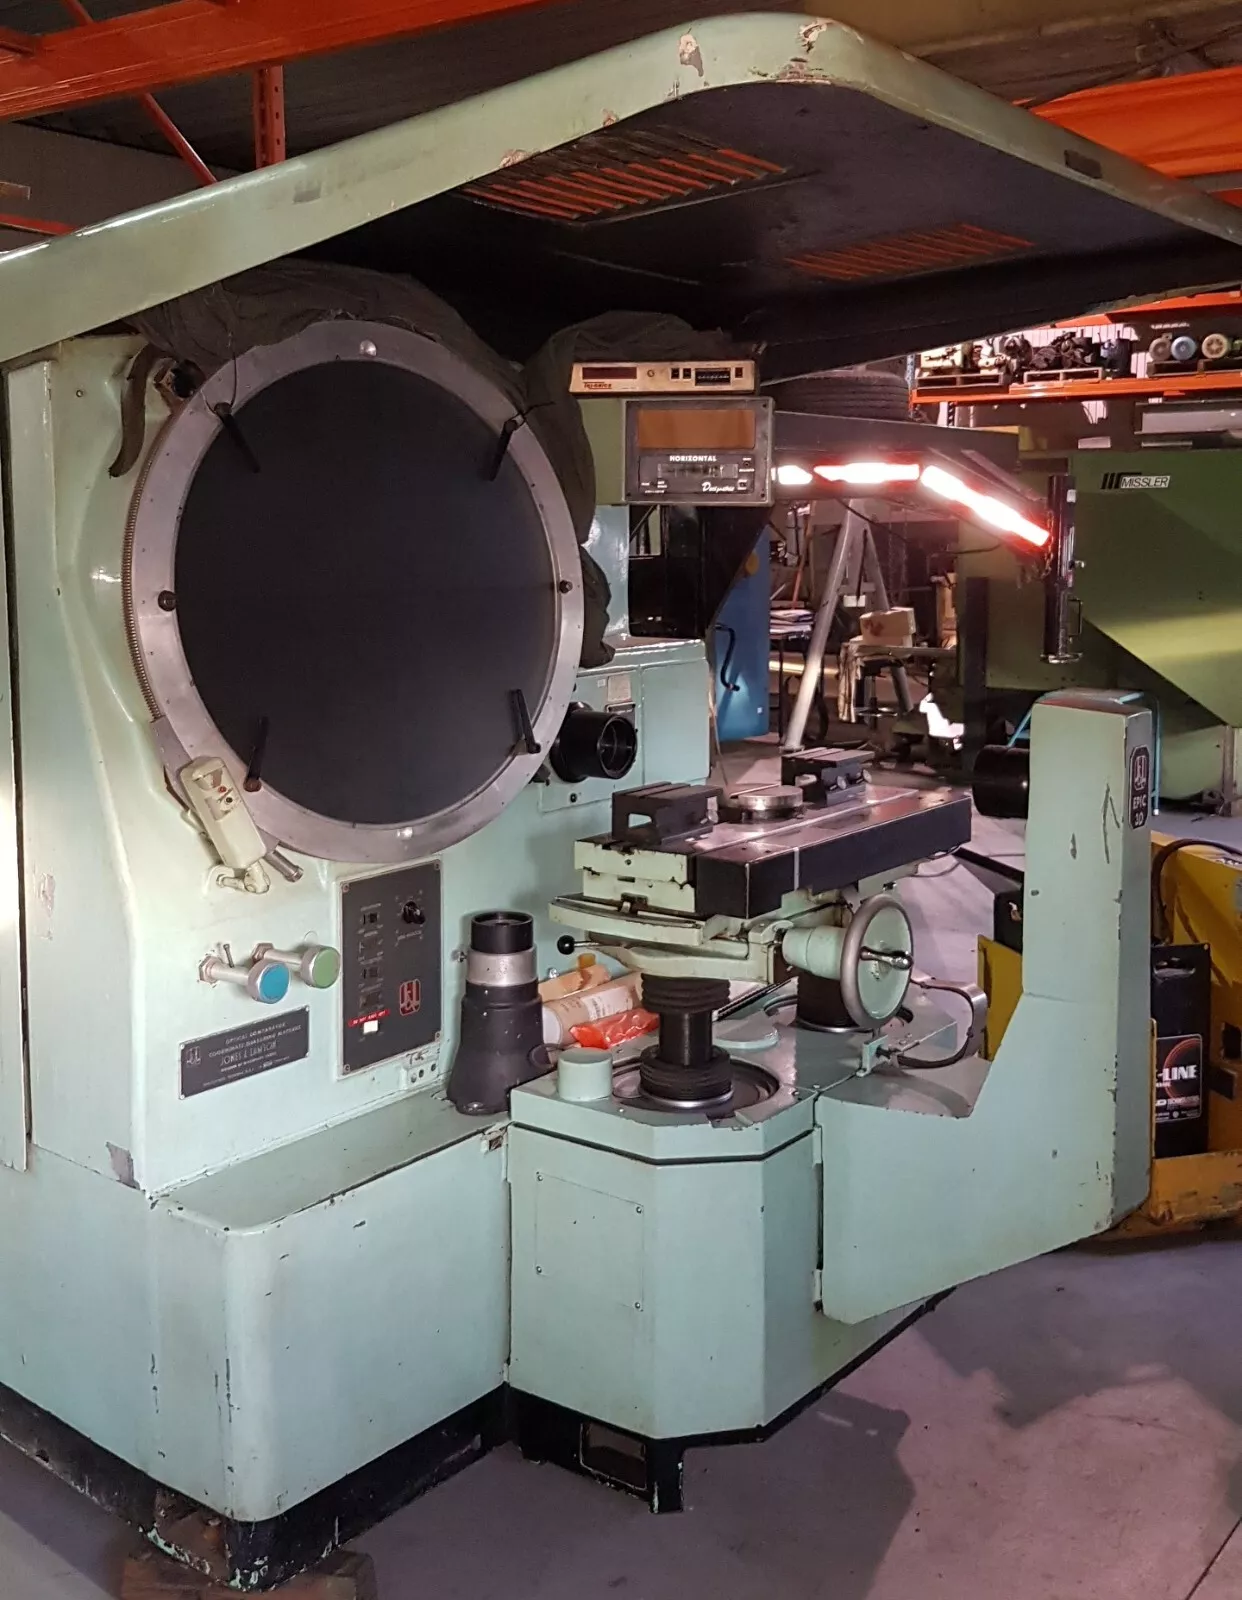
The JONES & Lamson EPIC 30 Comparator Machine is a high-precision optical comparator primarily used for dimensional inspection, measurement, and quality control in manufacturing processes. Below is a technical breakdown of its use, features, and functionality:
Primary Uses
- Dimensional Inspection:
- The EPIC 30 is designed to project magnified images of a workpiece onto a screen, enabling precise measurements of part geometry, dimensions, and tolerances.
- It is particularly useful for non-contact measurement, reducing the risk of part deformation.
- Measurement of Complex Profiles:
- Ideal for inspecting intricate profiles, contours, and geometric tolerances such as radii, angles, and curves.
- Frequently used in the aerospace, automotive, medical, and tool-and-die industries for parts requiring stringent tolerances.
- Tool Verification:
- Ensures the accuracy of cutting tools, gauges, and fixtures by comparing their profiles to a predefined standard or blueprint.
- Batch Inspection:
- Allows for efficient inspection of multiple parts in a production batch, ensuring consistency and quality across all units.
Technical Features
- Optical Projection System:
- Projects the silhouette of a part onto a screen at a specific magnification level (e.g., 10x, 20x, 50x, or higher).
- The projection lens ensures distortion-free magnification, crucial for precise measurements.
- Screen and Scale:
- Features a 30-inch circular viewing screen, making it suitable for inspecting large parts or multiple smaller components simultaneously.
- Equipped with engraved angular and linear scales for direct measurements on the screen.
- Edge Detection and Illumination:
- Integrated edge detection enhances visibility of part boundaries, enabling accurate measurement of edges and transitions.
- Uses high-intensity halogen or LED lighting systems for both front and back illumination to highlight contours and surface features.
- Digital Readout (DRO):
- Many EPIC 30 models include a digital readout system for precise coordinate measurements, reducing the chances of human error during manual readings.
- Stage Travel:
- Offers a motorized or manual stage with X and Y travel for positioning the part under the lens.
- Precise micrometers or linear encoders measure stage movement, correlating to part dimensions.
Advantages
- High Accuracy:
- Maintains high precision, typically within microns, making it suitable for applications requiring extreme dimensional control.
- Non-Contact Measurement:
- Eliminates physical contact with parts, ideal for fragile, delicate, or soft materials.
- Versatility:
- Capable of inspecting parts made from various materials, including metals, plastics, and composites.
- Ease of Use:
- Simple, intuitive operation suitable for operators with varying levels of technical expertise.
- Cost-Effective Quality Control:
- Provides reliable inspection and measurement capabilities without requiring high-end CMM (Coordinate Measuring Machine) systems.
Common Applications
- Inspection of Machined Parts:
- Gears, shafts, bearings, and other machined components.
- Mold and Die Verification:
- Ensures that molds and dies meet design specifications.
- Electronics:
- Inspects PCB boards, connectors, and other small components for dimensional accuracy.
- Aerospace and Automotive:
- Validates complex parts critical to performance and safety, such as turbine blades or precision-engineered fasteners.
The JONES & Lamson EPIC 30 Comparator Machine remains a cornerstone in precision metrology for industries that demand high accuracy and repeatability. Its robust optical system, precise measurement capabilities, and adaptability to a range of applications make it indispensable in modern manufacturing.


